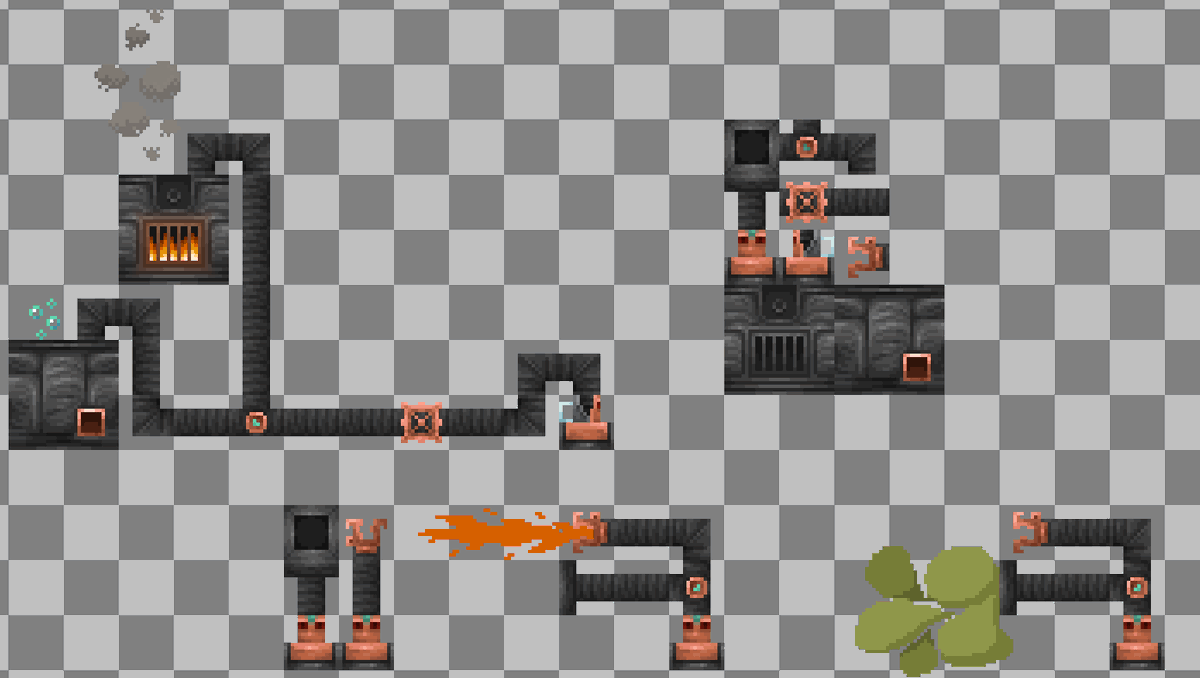
The Create mod was a massive inspiration for me when making the gas disperser and other gas-powered contraptions!
Stay tuned for another post where I'll briefly explain the purpose of each block!
#Minecraft#mod#httyd
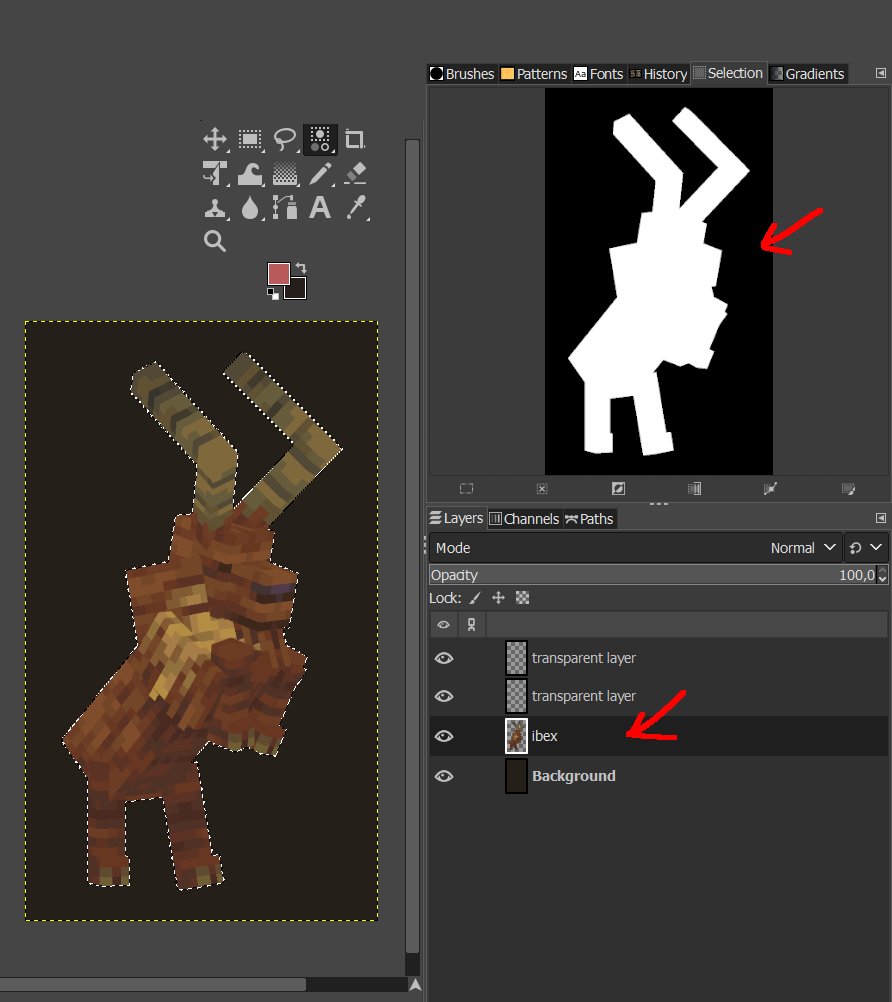
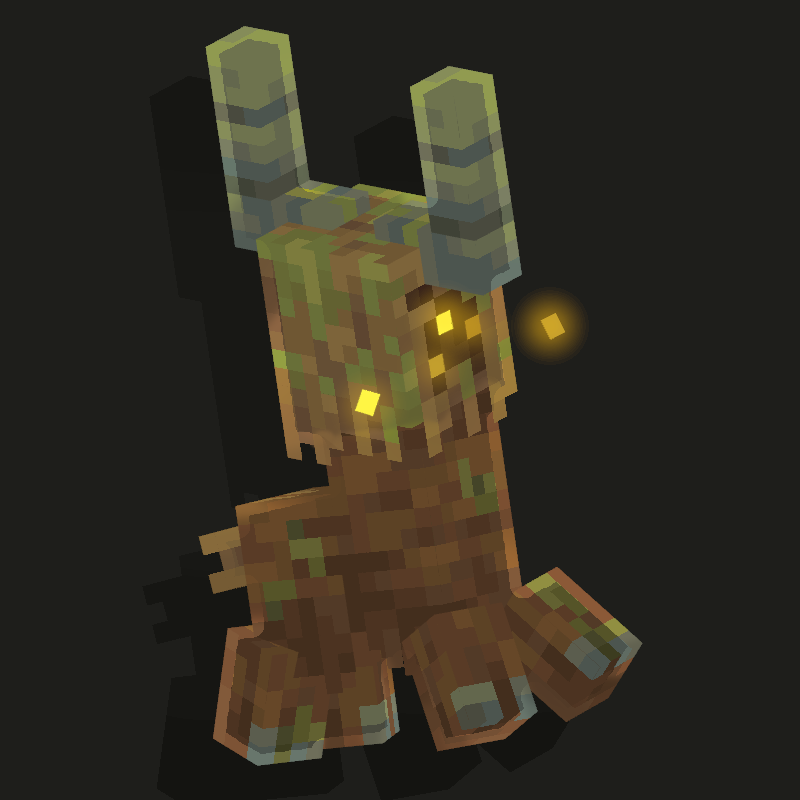
Image 5: Select the layer with the model. Subtract all transparent areas. Copy the selection from the model layer onto the 2nd empty layer that is still empty.
Image 6: You should see the same thing I see: a layer with a thin outline above the model layer (for demonstration, I turned off the visibility of the model layer).
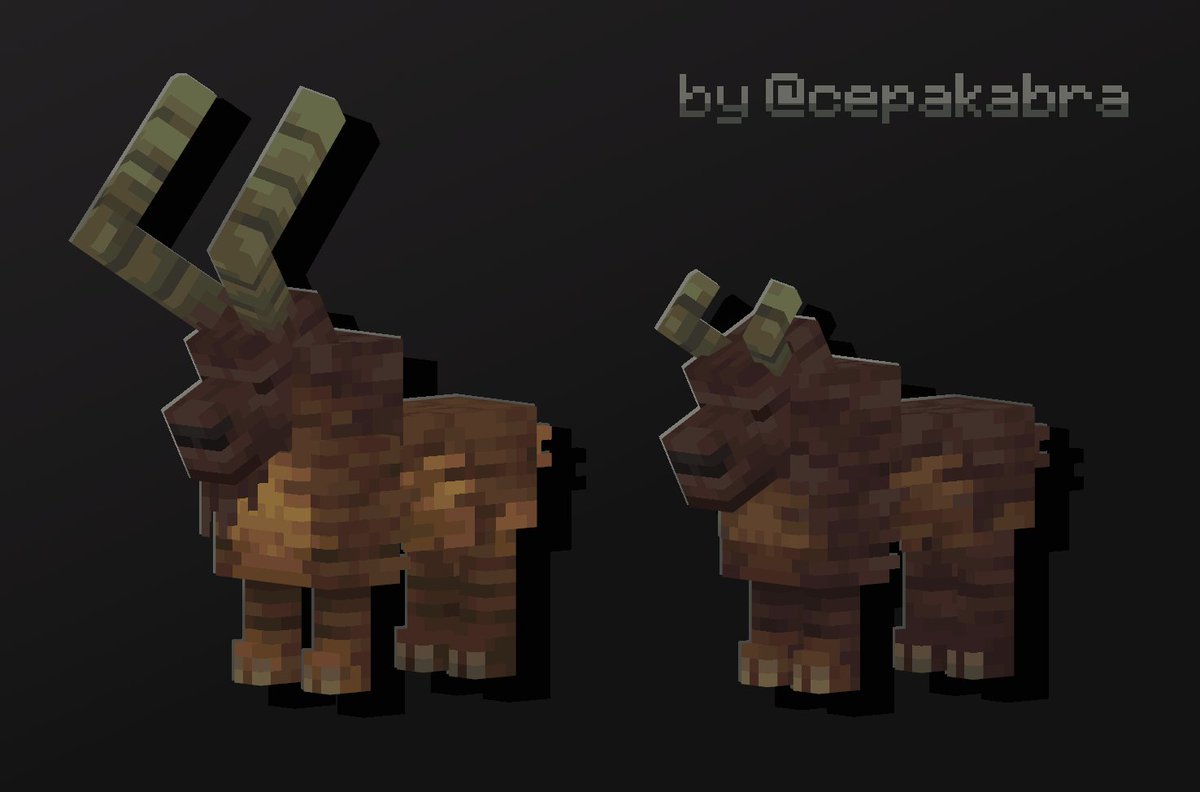
Now it's your turn to play with saturation, brightness, contrast and exposure.
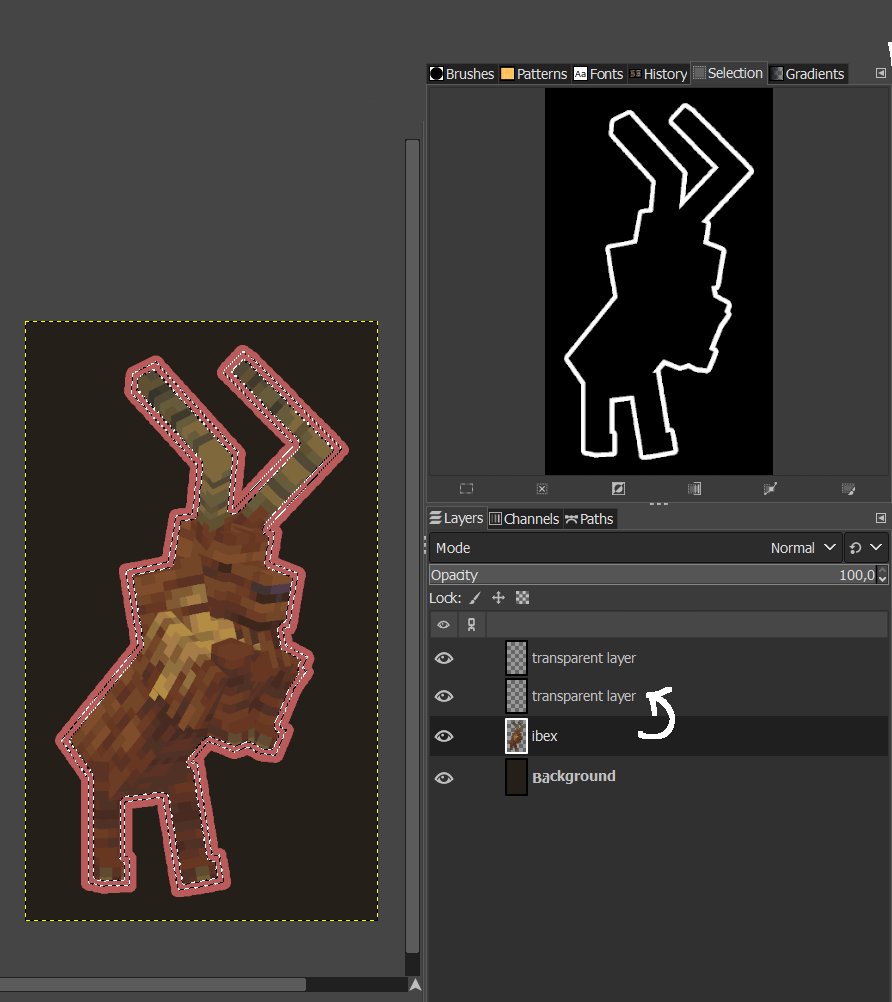
TUTORIAL FOR MY OUTLINE [IN GIMP]
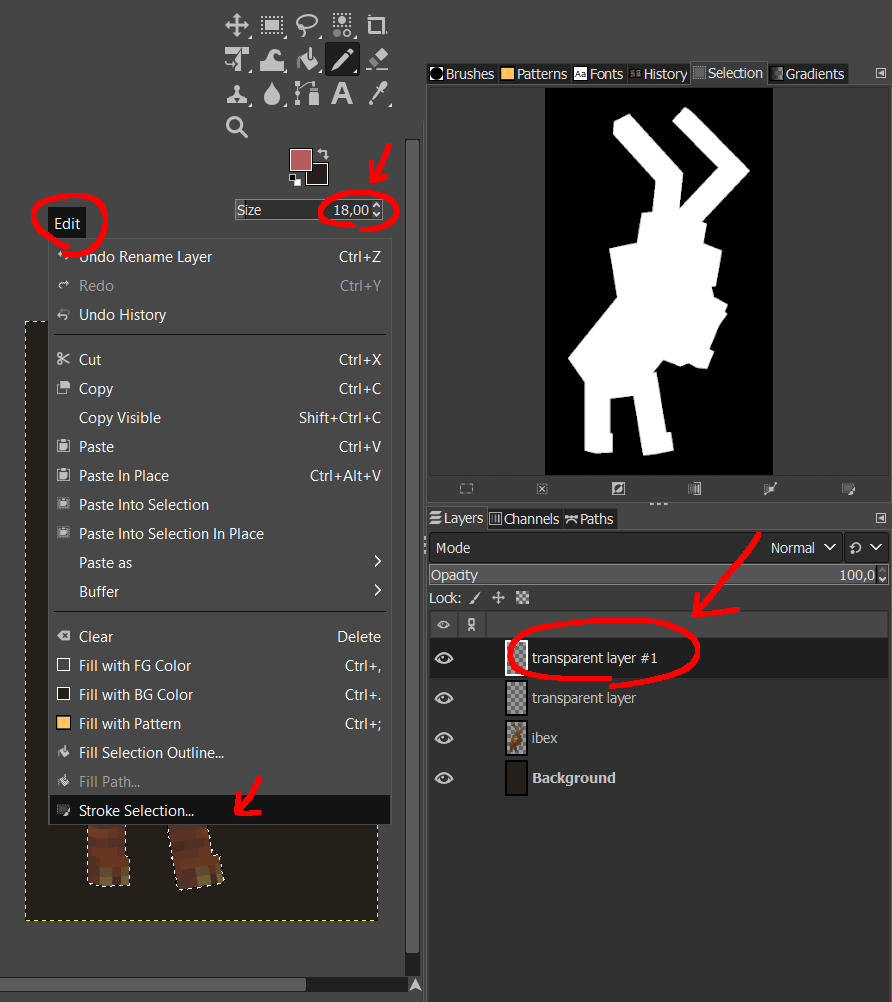
Image 1: You should have 4 layers (in order from bottom to top): the background, the layer with the model for which you want to make an outline, and two empty layers on top (2nd empty layer and 1st empty layer).
In the selection, you should have EVERYTHING except the transparent areas from the layer with the model.
Image 2: Select the 1st empty layer. Set the brush size to around 15–25 (optional, feel free to experiment). In the top menu, choose the "Edit" section, and near the bottom of the list, select "Stroke Selection."
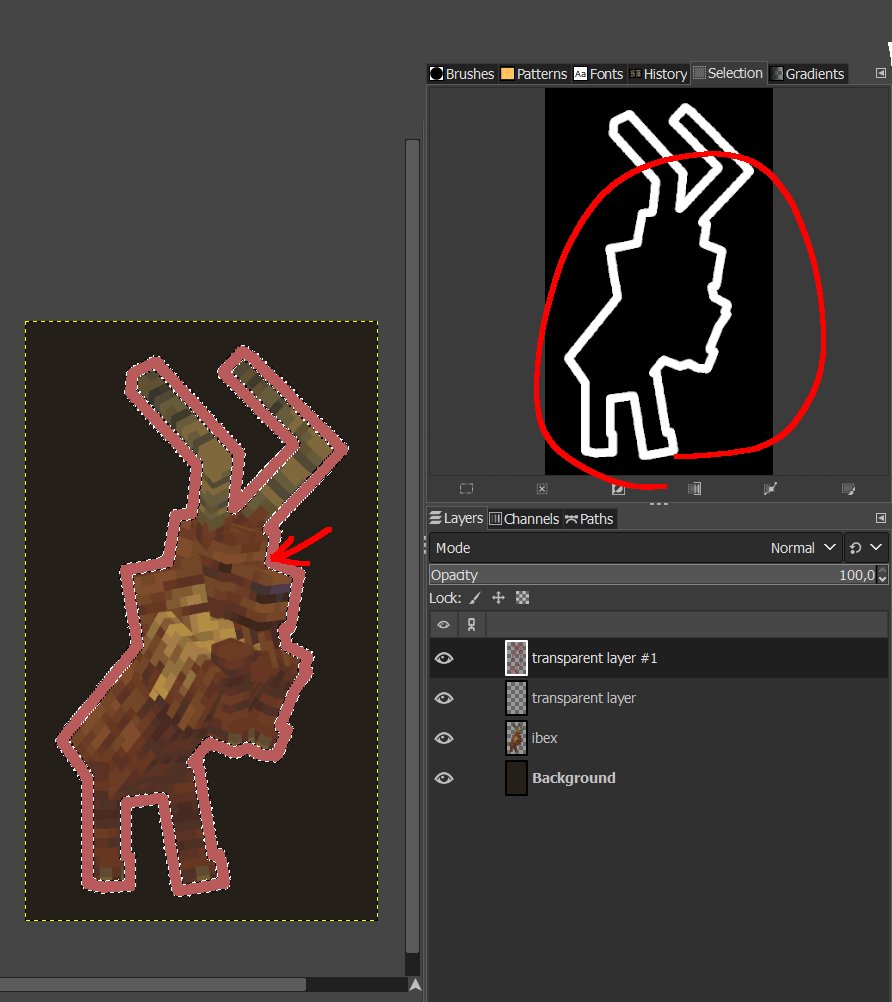
Image 3: In the pop-up window, choose the Paint Tool – Pencil, and AFTER clicking OK, you should see on the picture exactly what I see. Make sure the outline appears on the transparent layer.
Image 4: On the 1st empty layer, make a selection again, selecting EVERYTHING except the transparent areas. From now on we don't need 1st empty layer.