Sabitlenmiş Tweet
r Leiva
26.4K posts
r Leiva
@_eRRRe_
Tackling concept art challenges with AI. Learning, share what I learn, and making friends in #AIArtCommunity. Veteran of the 1st wave. #ConceptArtAI (MJ🤝🏼SD)
Santiago, Chile Katılım Ağustos 2011
1.1K Takip Edilen1.9K Takipçiler
r Leiva retweetledi
GM!
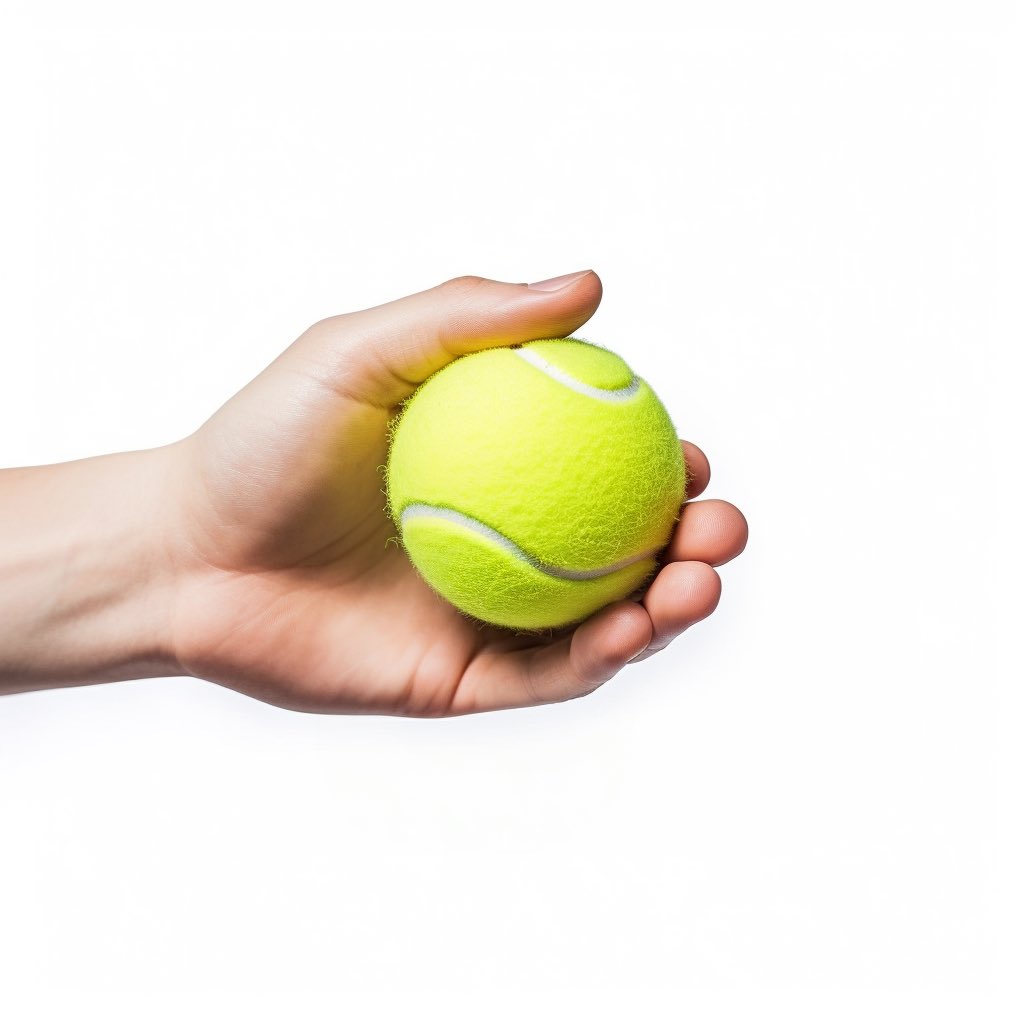
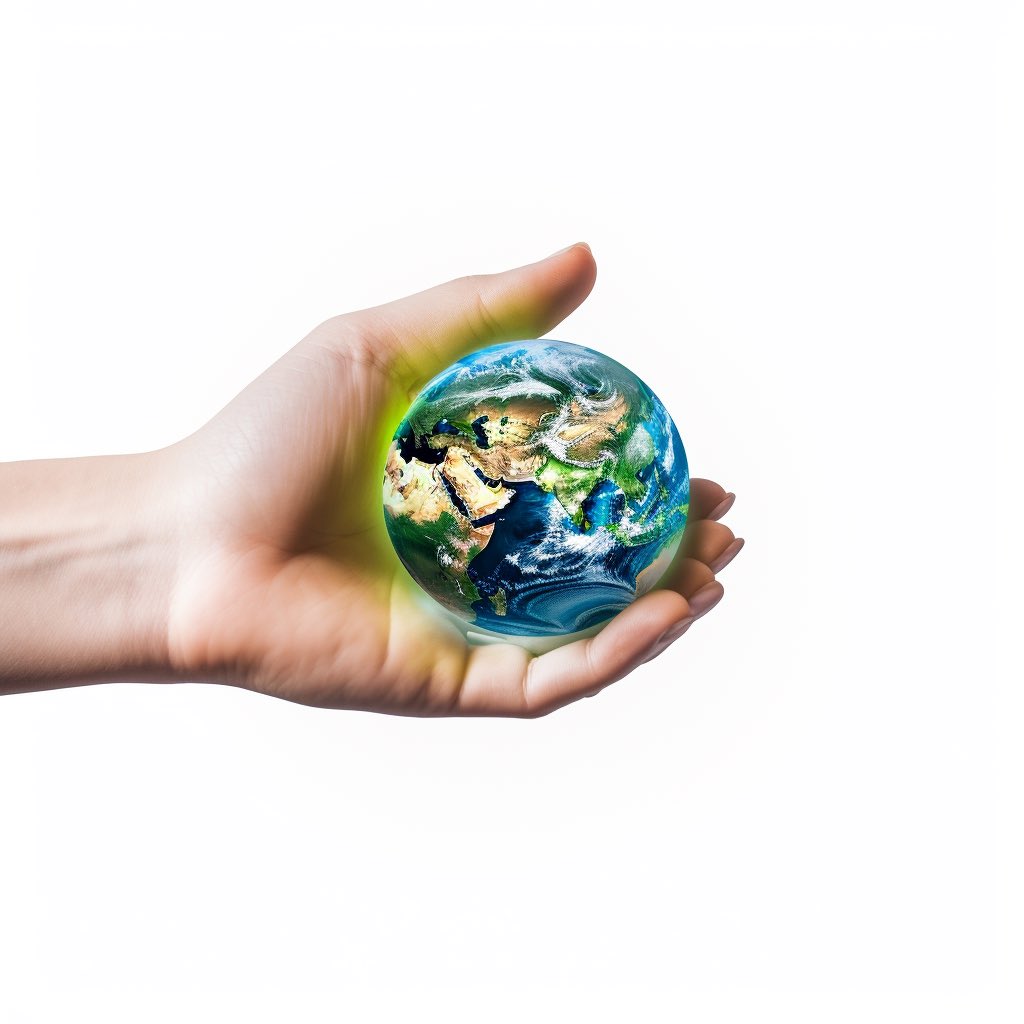
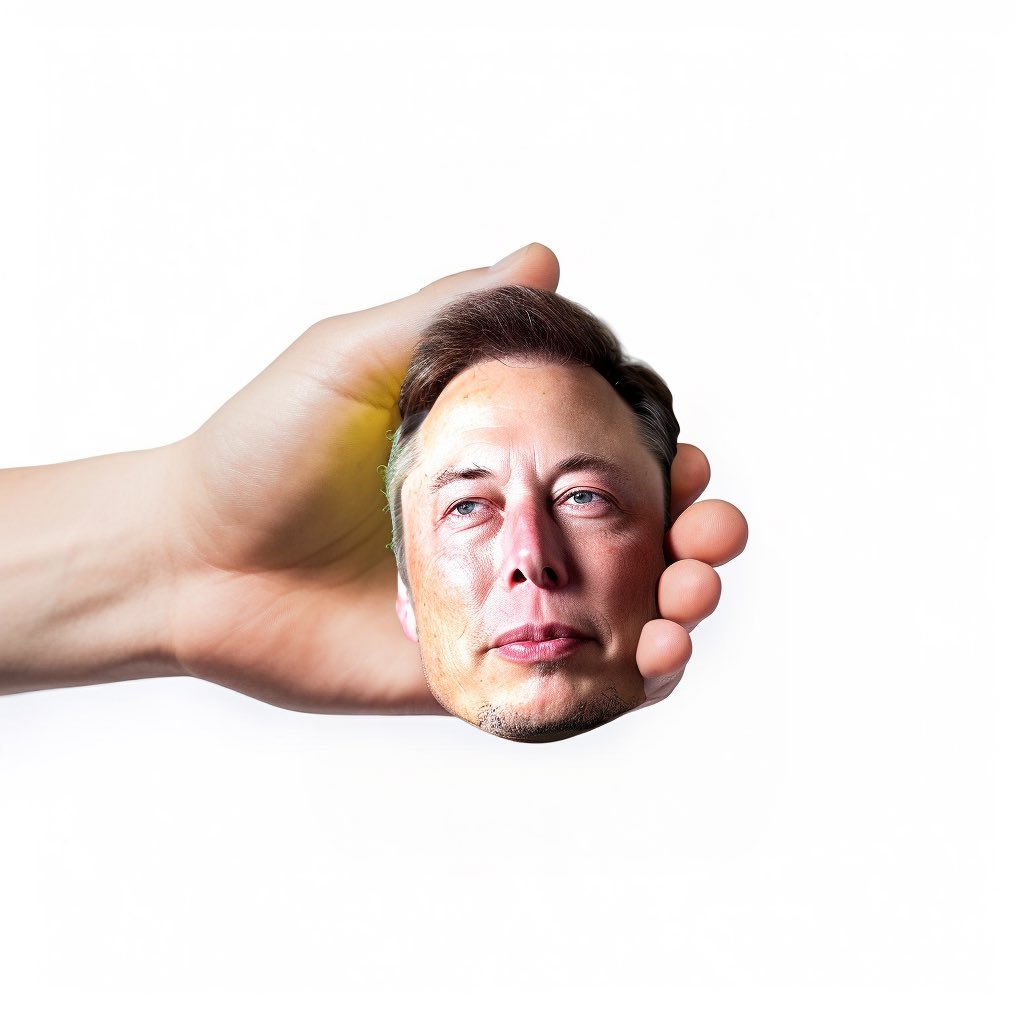
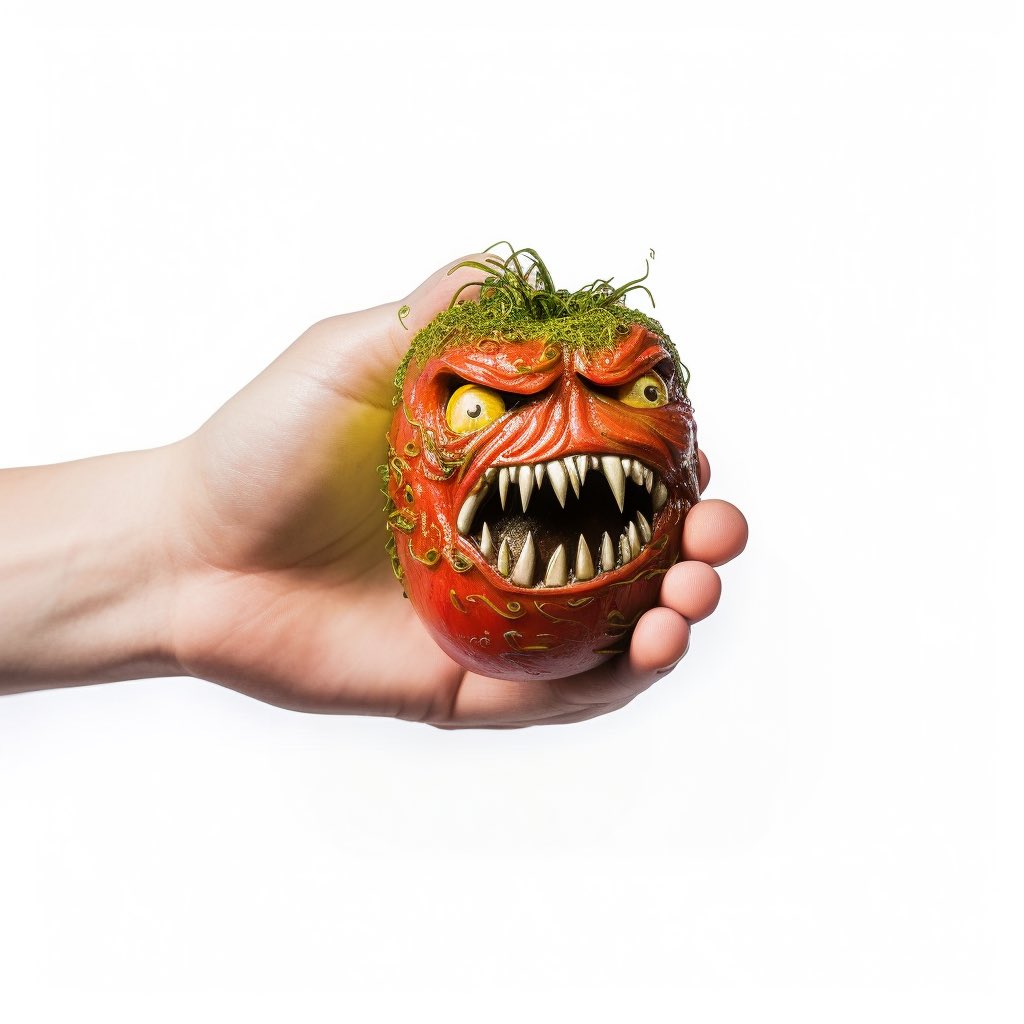
Original image with a tennis ball, then I changed it for the Earth, Elon's head, and a mutant Killer Tomato... I'll post better uses soon 🤣.
Improvements needed... the yellow light from the ball reflecting on the hands doesn't match with the new objects
#midjourney #VaryRegion
r Leiva@_eRRRe_
New Workflow #midjourney 1.- Original Image 2.- image with zoom out and several errors and deformation (red arrows) 3.- Final image corrected with #VaryRegion, plus the addition of a shield. #AIArtCommuity #midjourney52
English
r Leiva retweetledi
Fragmented (square edition)
inspired by the challenge of @rodolfo_swift "madness"
#Midjourney #AIart #AIcommunity #VaryRegion

English
r Leiva retweetledi
The image on the left was taken with #varyzoom The one on the right was a description of this finished image, Promt in alt
#Midjourney #AIart #AIArtCommuity #ConceptArtAi #ConceptArt #promtsharing
English
r Leiva retweetledi
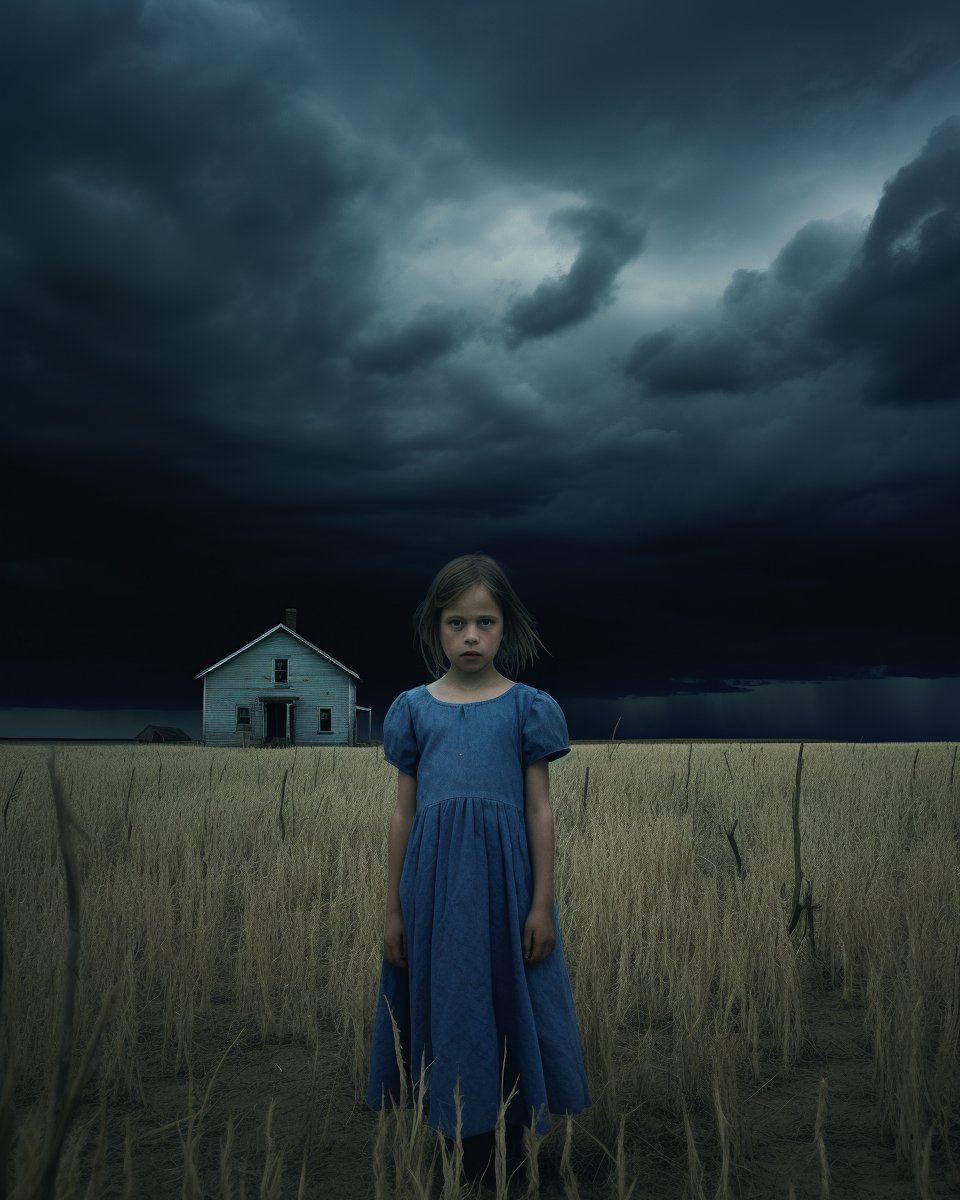
State of Mind
fighting Monday anxiety with images and promt 🧘🏽♂️☯️⚖️
#midjourney52 #generativeAI #aiartcommunity #promtsharing #zen #AIart
English
r Leiva retweetledi
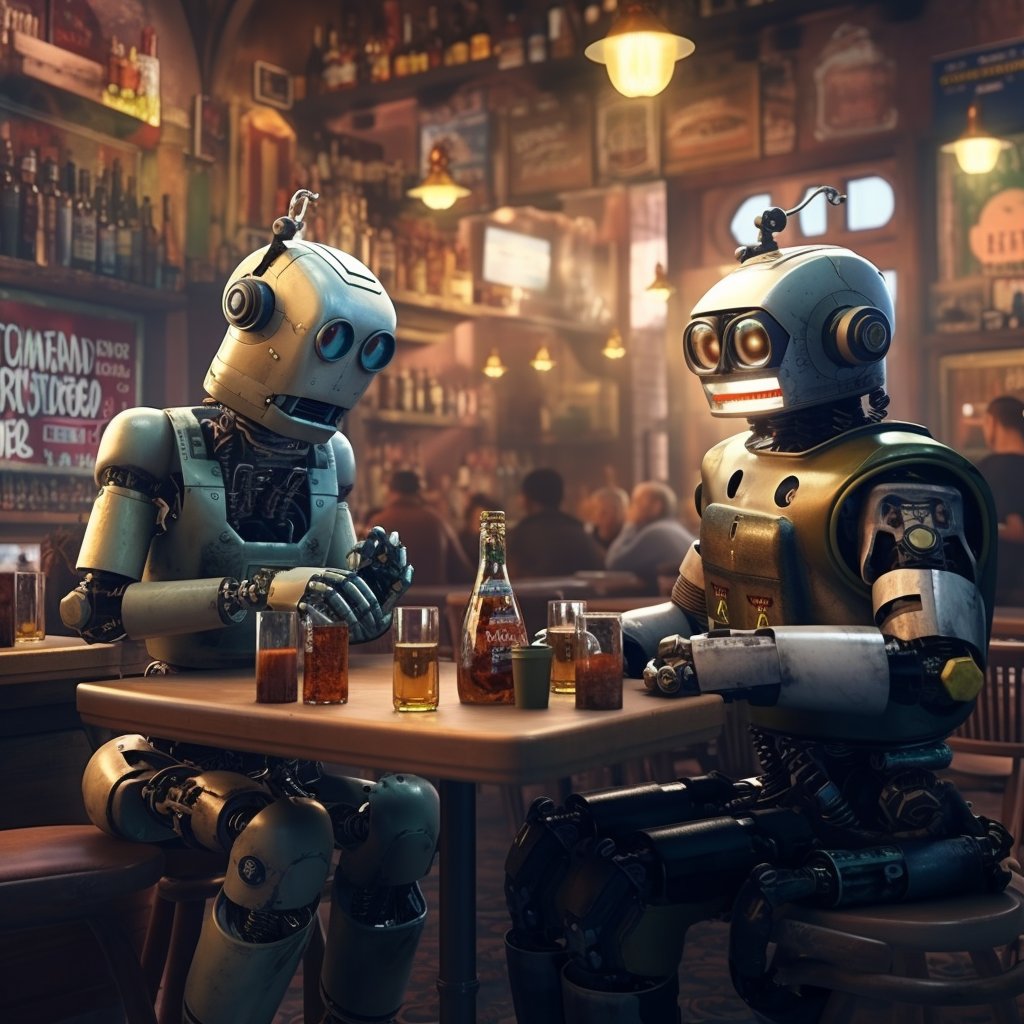
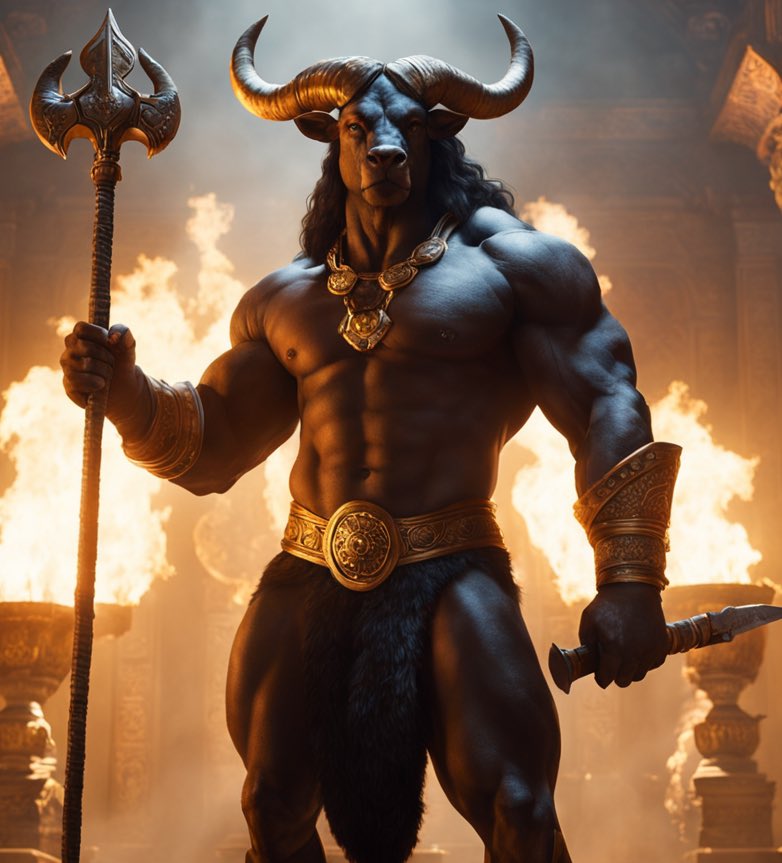
¡It's Friday and these robots know it!
The first time I made this prompt months ago, it was over a thousand characters long. Now, I've managed to shorten it considerably without losing consistency
#midjourney52 #generativeAI #AIart #aiartcommunity #promtsharing #ConceptArtAI #ConceptArt
English
r Leiva retweetledi
I started playing with this resourceful prompt from @techhalla adding old tokens. I liked the result
#Promptshare #midjouney #GenerativeAI
TechHalla@techhalla
🐰🕳️ I'm in a rabbit hole with this series of tattoo prompts, and I've decided to add a little twist. Do you want to give it a try? 👇 📃 biometric hologram tattoo makeup style | portrait of a [subject] | polaroid shot | glasscore filter --style raw --s 150 🦾 Choose a subject, and the prompt will do the rest, but feel free to modify it as you wish. 🗯️ Remember, you have inspiration in the ALTs. 🩷🔁🫂 If you enjoyed it, share it with your friends so they can contribute their creations to the community too. I'm looking forward to reading your comments! #PromptShare #Midjourney #AIArtCommunity
English
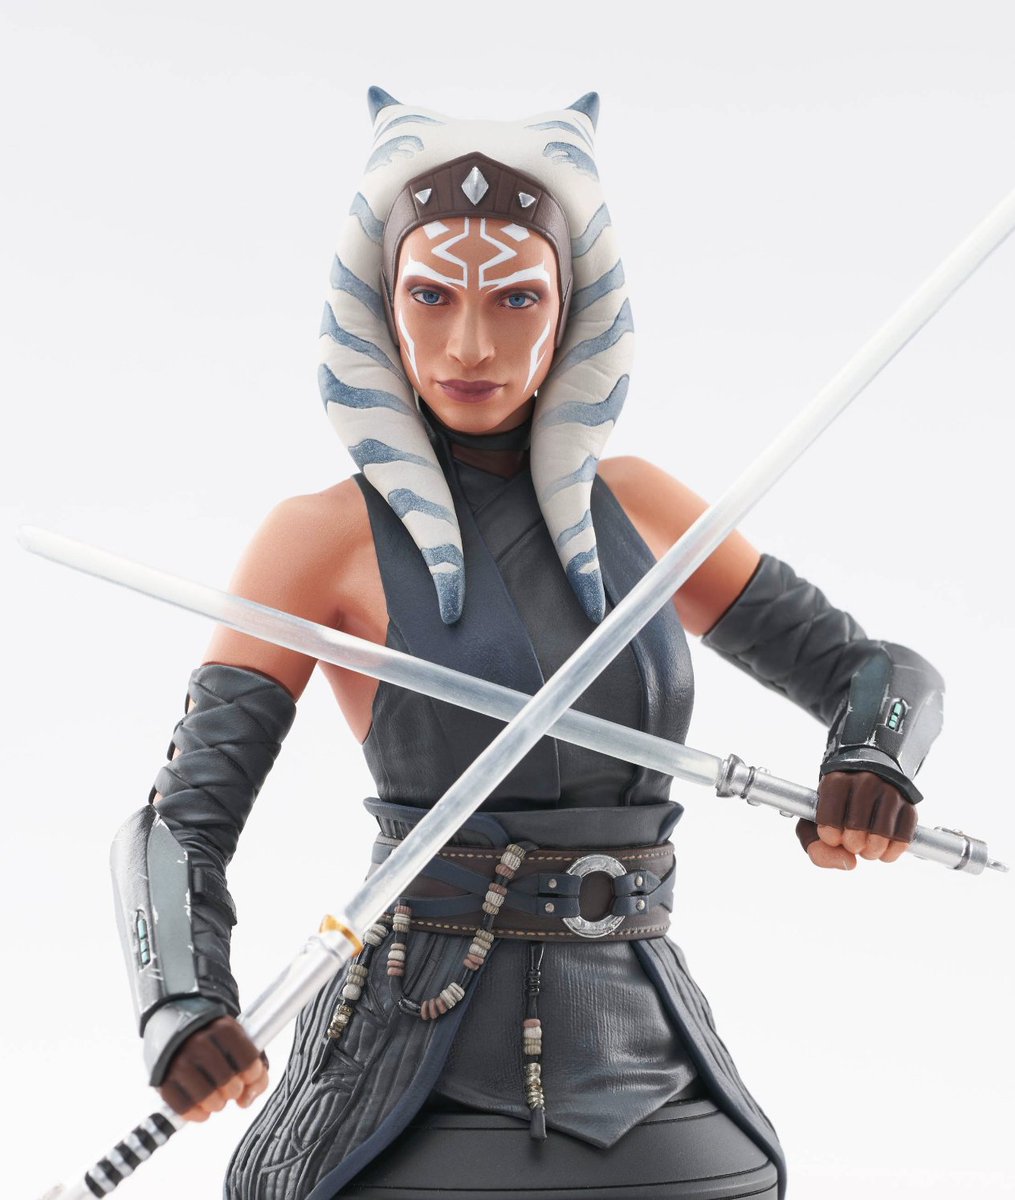
I am very pleased with the #Ahsoka series. To me, she's a character I hold dear (I named my dog after her 🙂). I created this 'tribute' using #StableDiffusion, using a pose I found online from a toy (right)
#starwarsahsoka #ControlNet #SDXL #StarWars #conceptartAI

English
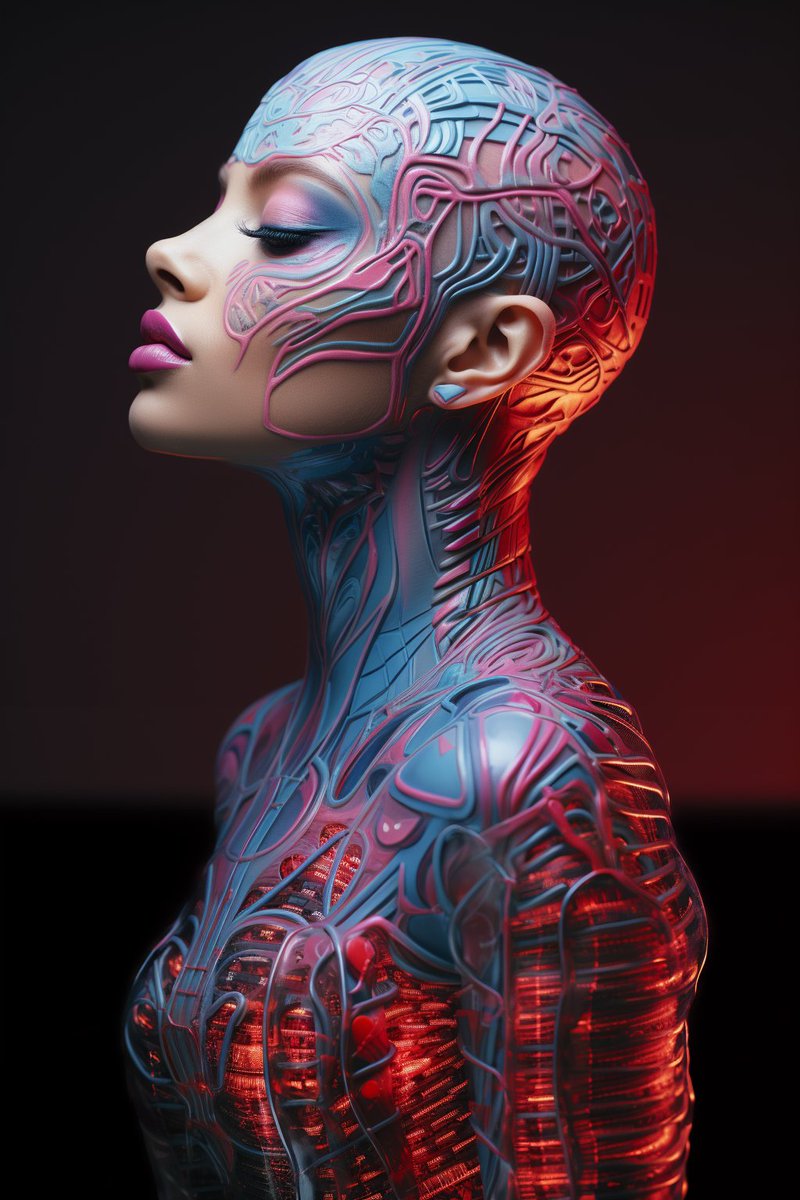
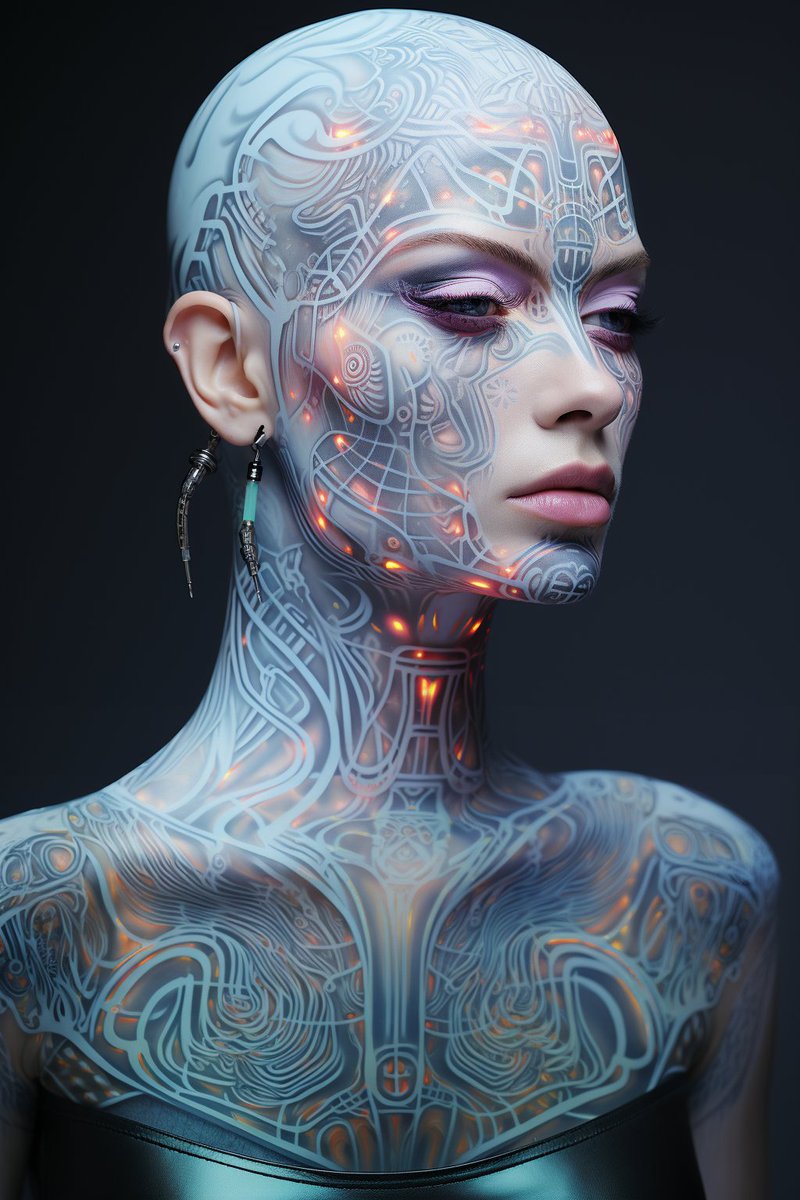
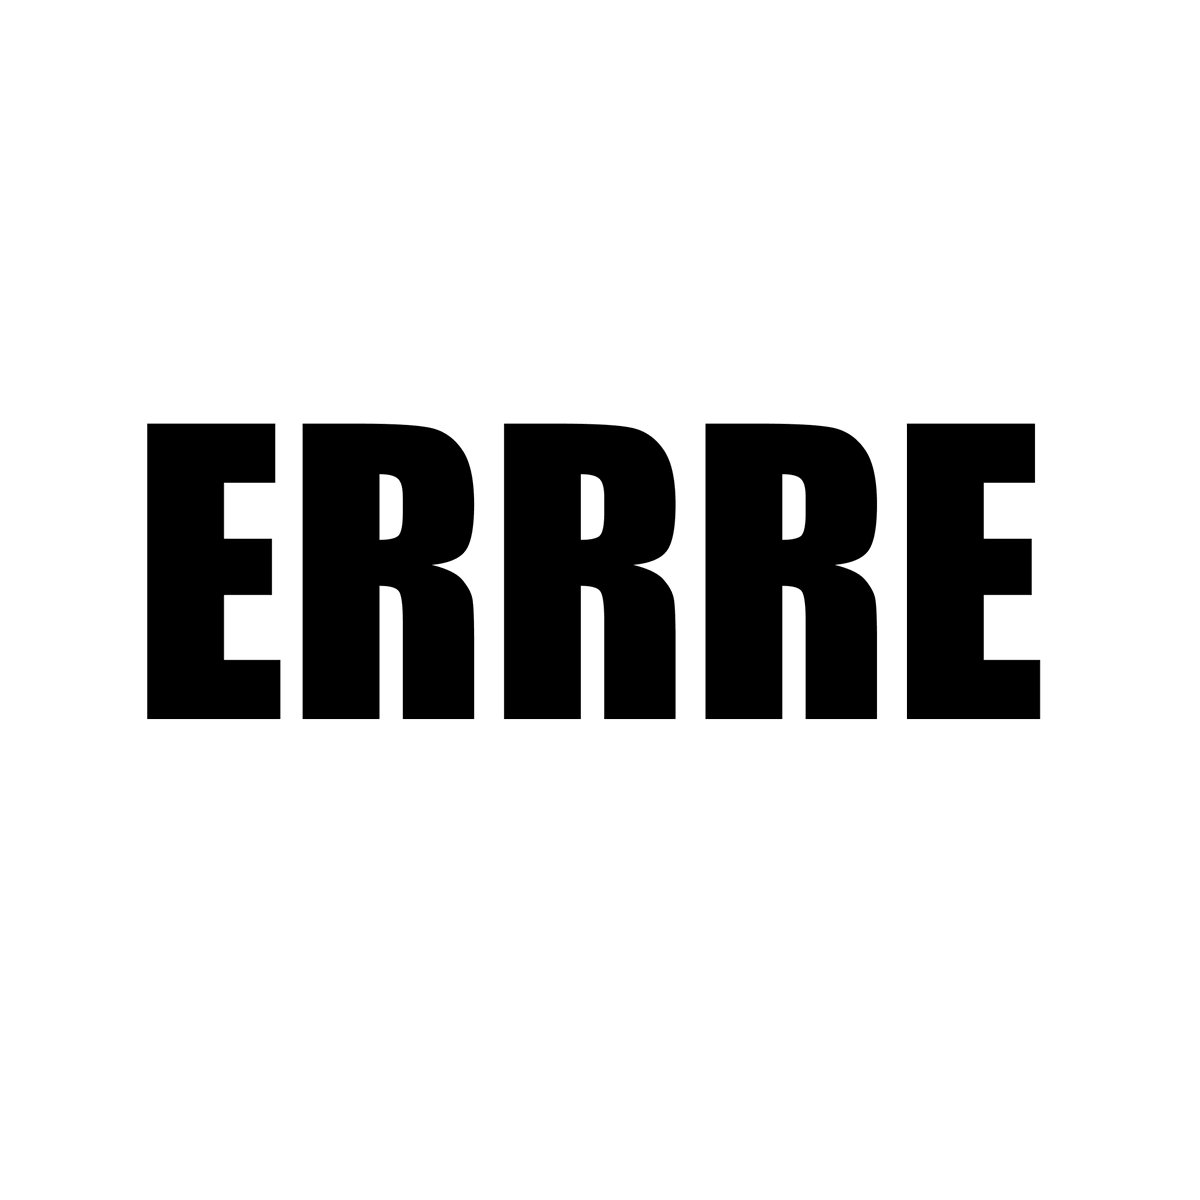
ERRRE is how the letter "R" is pronounced in Spanish vocabulary (I exaggerated an "R"). Since my name is Rodolfo, at some point, my friends started calling me ERRRE, and that's how I stayed forever. I take this as an excuse to keep exploring the concept of #controlism
#StableDiffusion #AIArtCommuity #ControlNet #PIKALABS
English
Welcome to the era of subliminal messages everywhere, or as some call it, the #controlism artistic trend,
Images that make up the letters are coherent shapes; it can be done with any logo, face, message... by the way, remember to follow ERRRE!!!!!😵💫😵💫😵💫😂😂
#stableDiffusion #qrmonster #AIArtCommuity


English
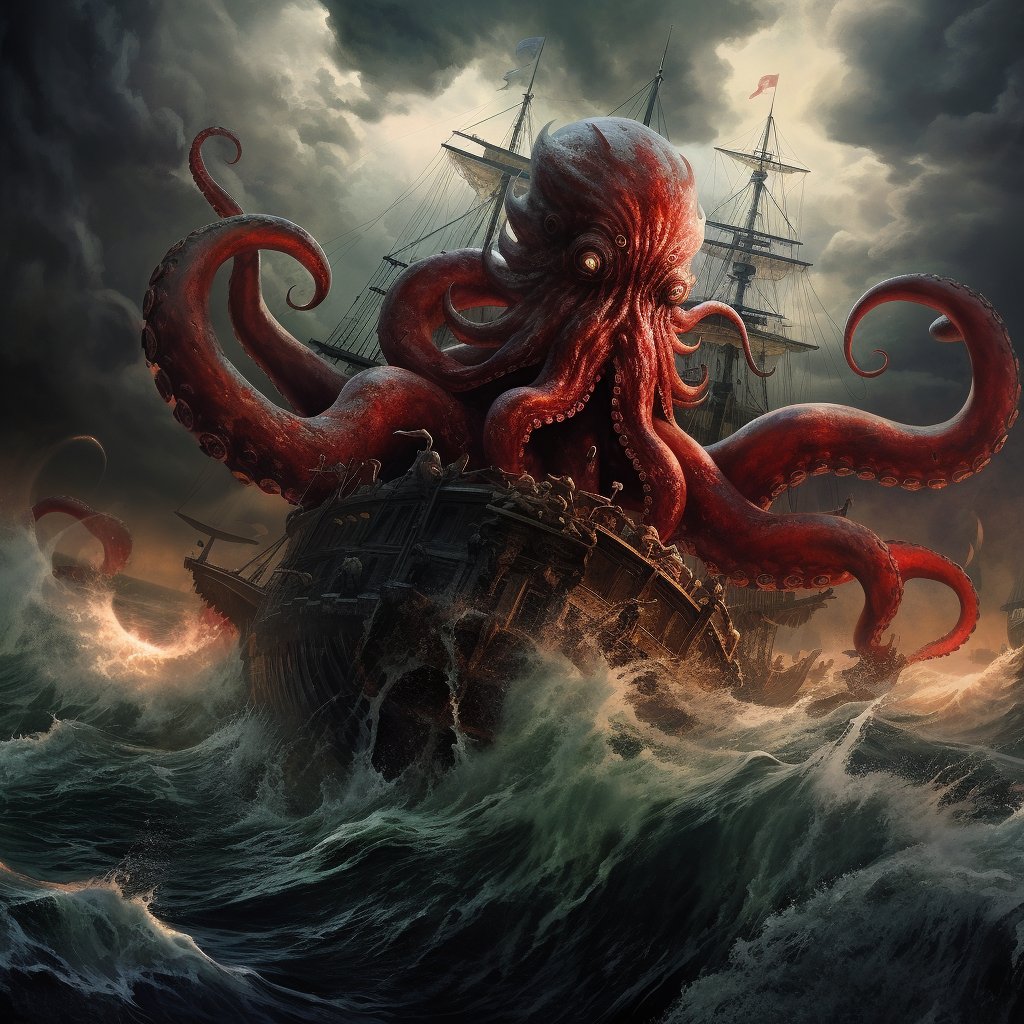
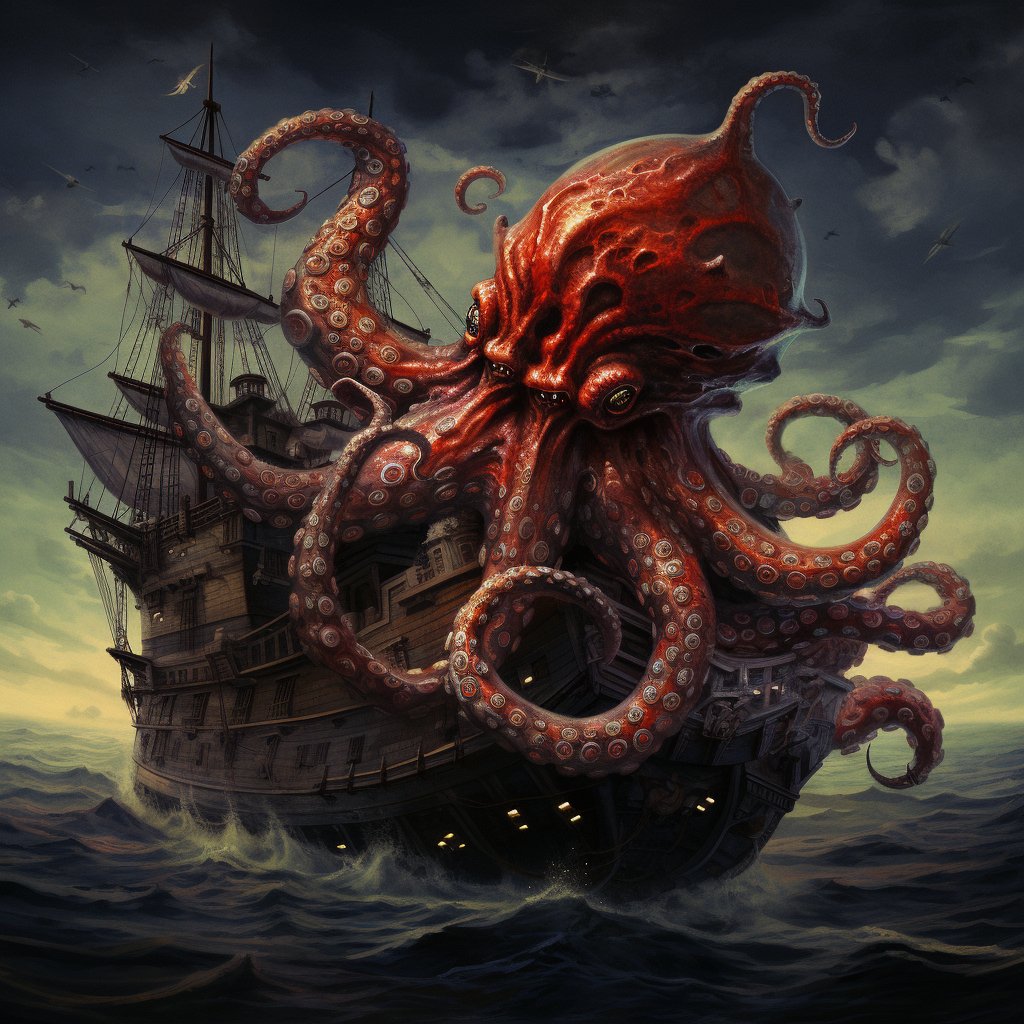
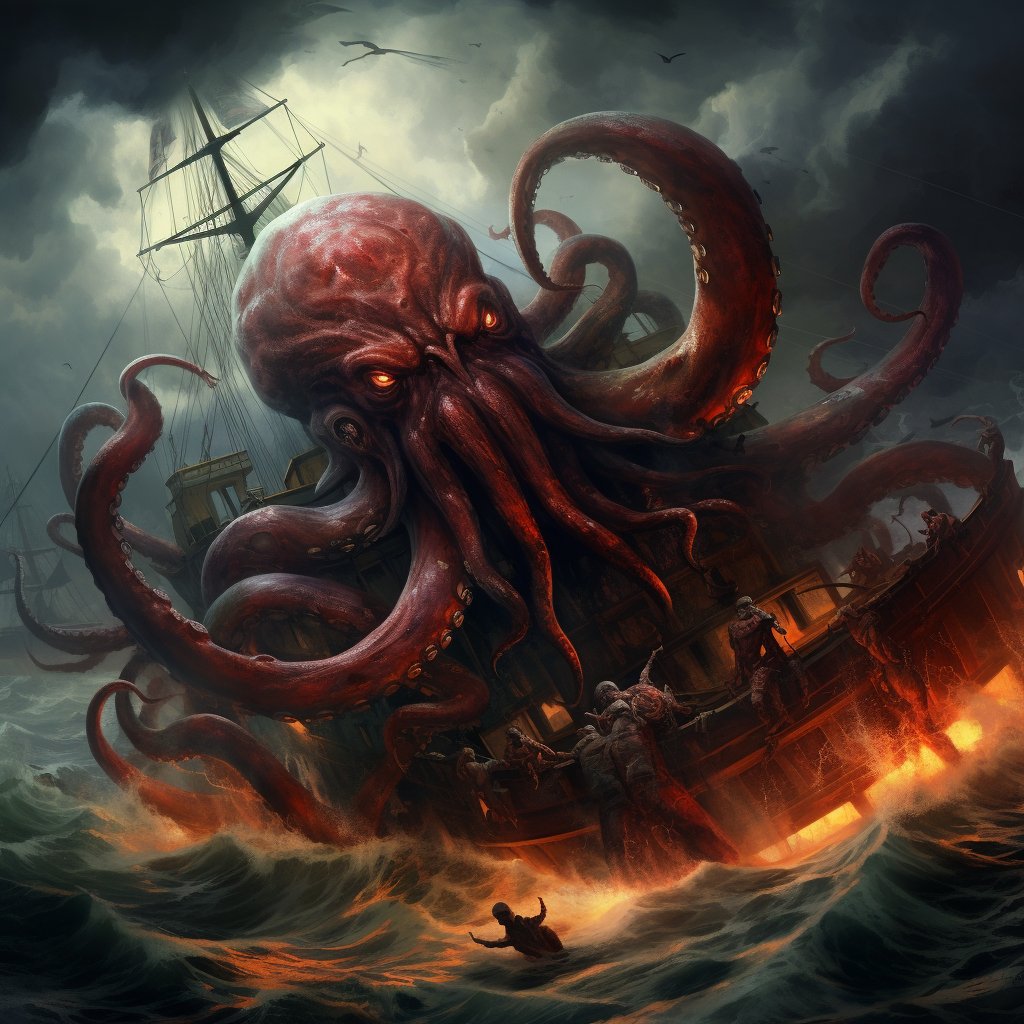
This scene is one of the prompts I tried the most in #Midjourney. The complexity was to combine the tentacles, the ship, the destruction, and the sea in a composition that made sense. All the types of prompts I tried failed. I'm not necessarily satisfied with this one, but with some luck, it produces comprehensible images. This image will be the basis for comparing Midjourney with other tools like #StableDiffusion or #DALLE3
#promtshare #AIcommunity
English
@beholdersai @ManoelKhan @ZiNCreates @kattlatte @dlucks @IamKarinaBArt @muriellondon @Cyberpopdreams @Exprsso @bri_guy_ai @daidatep @UnoParticular @bellamisele @AtikoAE @lenata4 @PepengPayatAI @beholdthe84 @FOMOMoonGlow @ElenaVBardo @GirlFromMars_OG @qth3creator @quirkygirlme67 @PinkUniic0rn Thanks for the tag, robotcore
@PhletchyIRL in


English

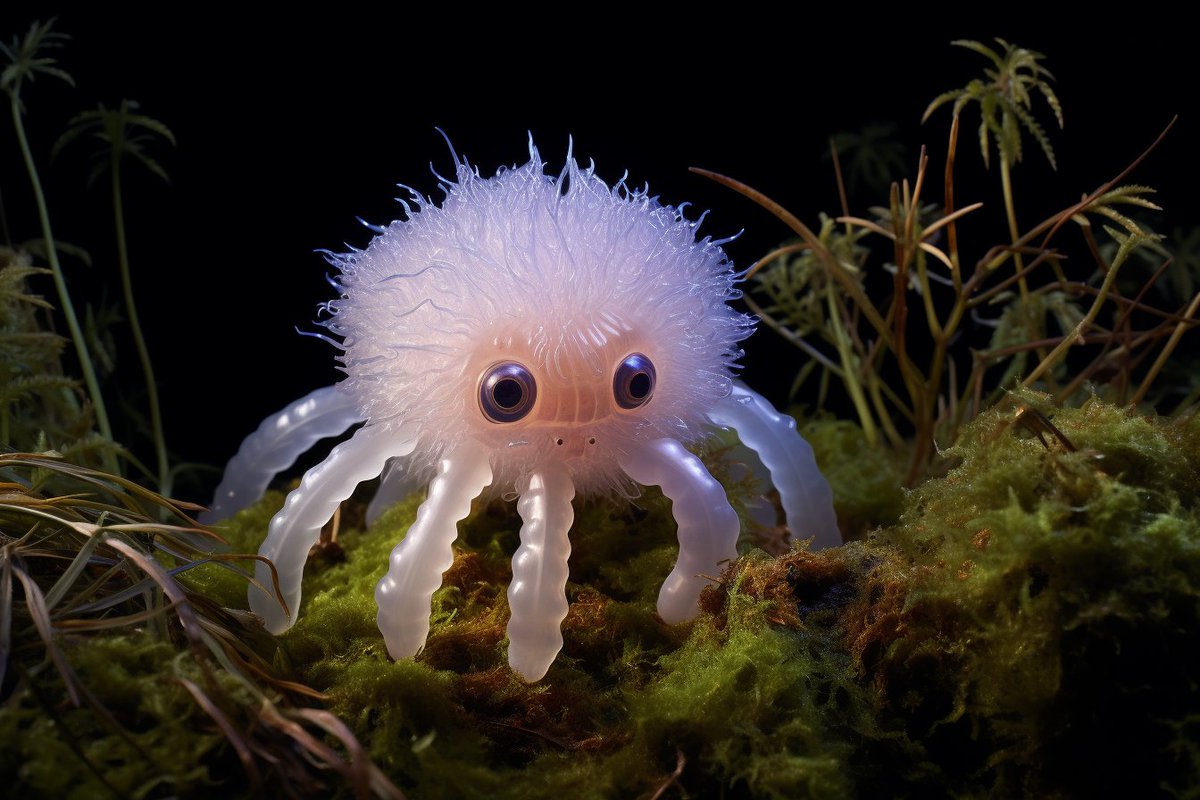
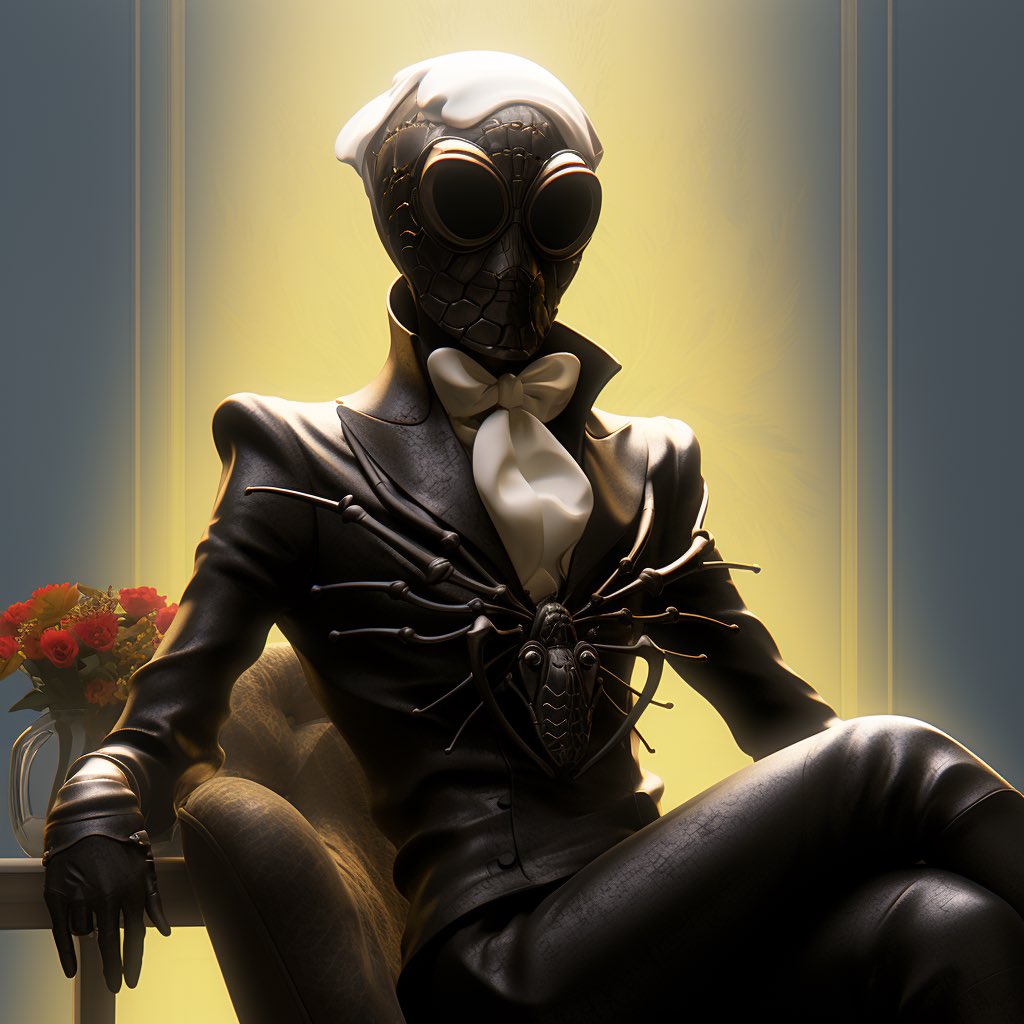
Thanks for the tag @ManoelKhan and your art reminded me of bedbugs. (* chills *) 😬🕷️🛌🕷️
I posted in another part of the thread but I have spiders in my back pocket.
@FOMOMoonGlow @_eRRRe_ @ElenaVBardo @GirlFromMars_OG @qth3creator @quirkygirlme67 @PinkUniic0rn @Button_Puppins

English

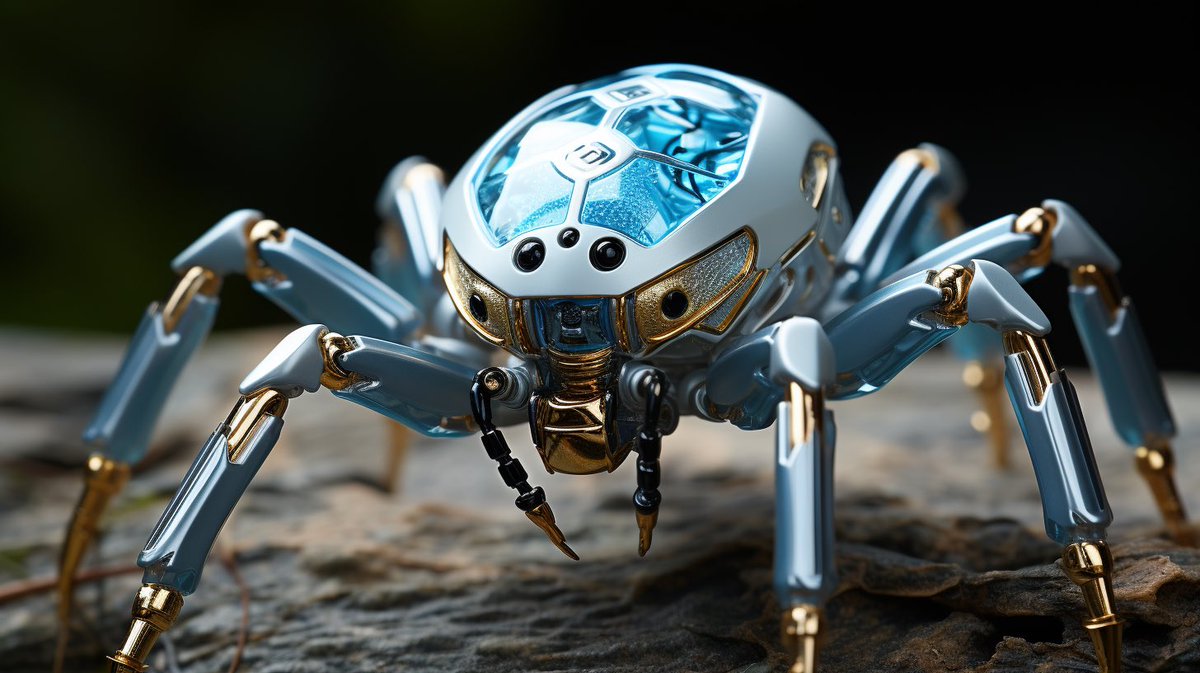
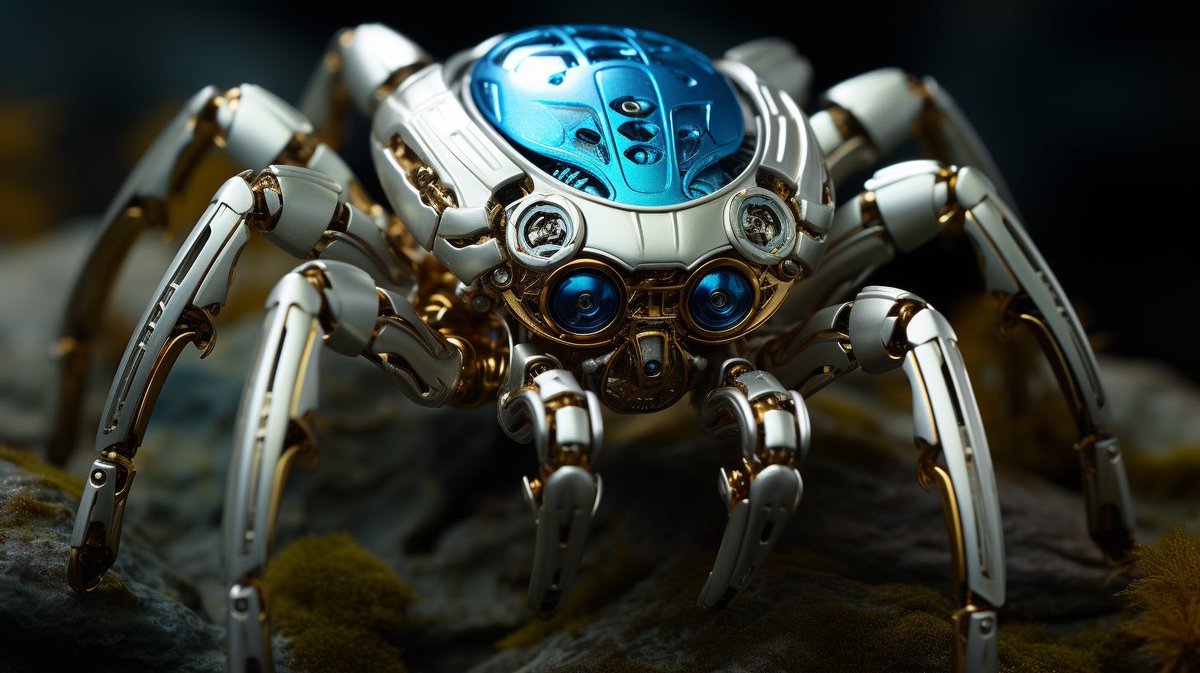
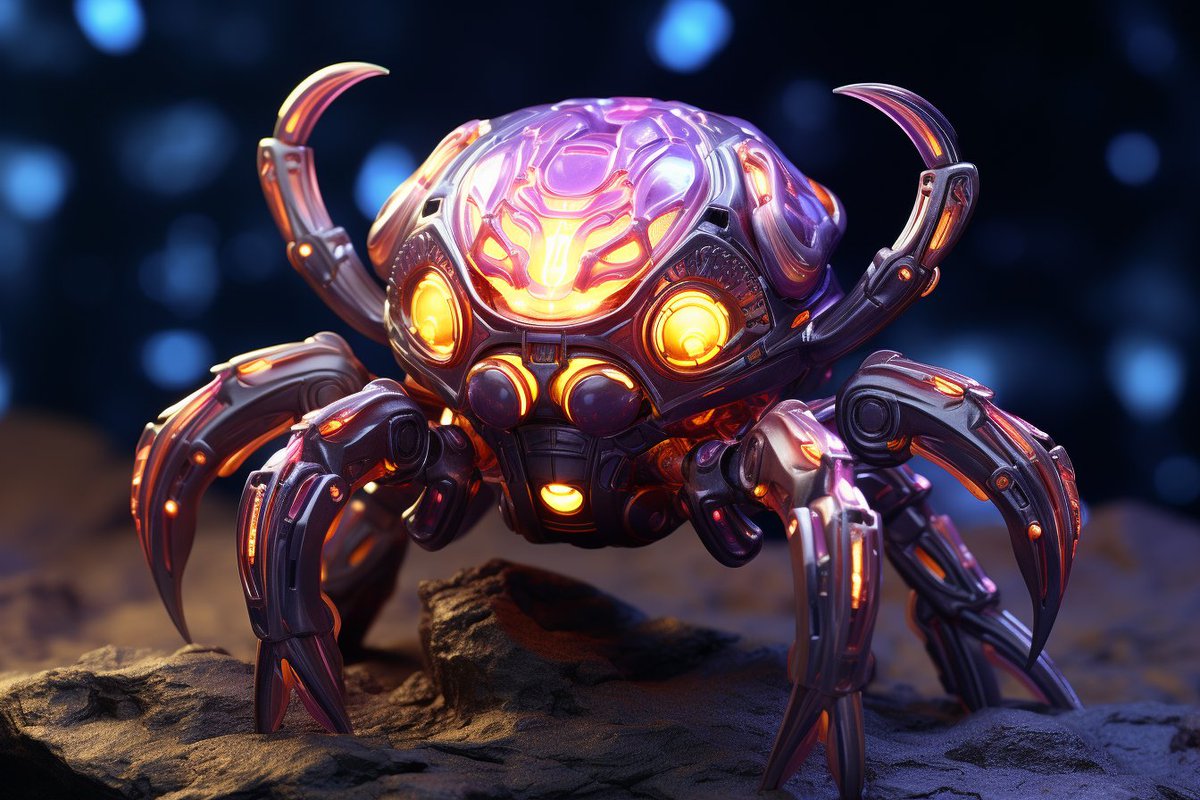
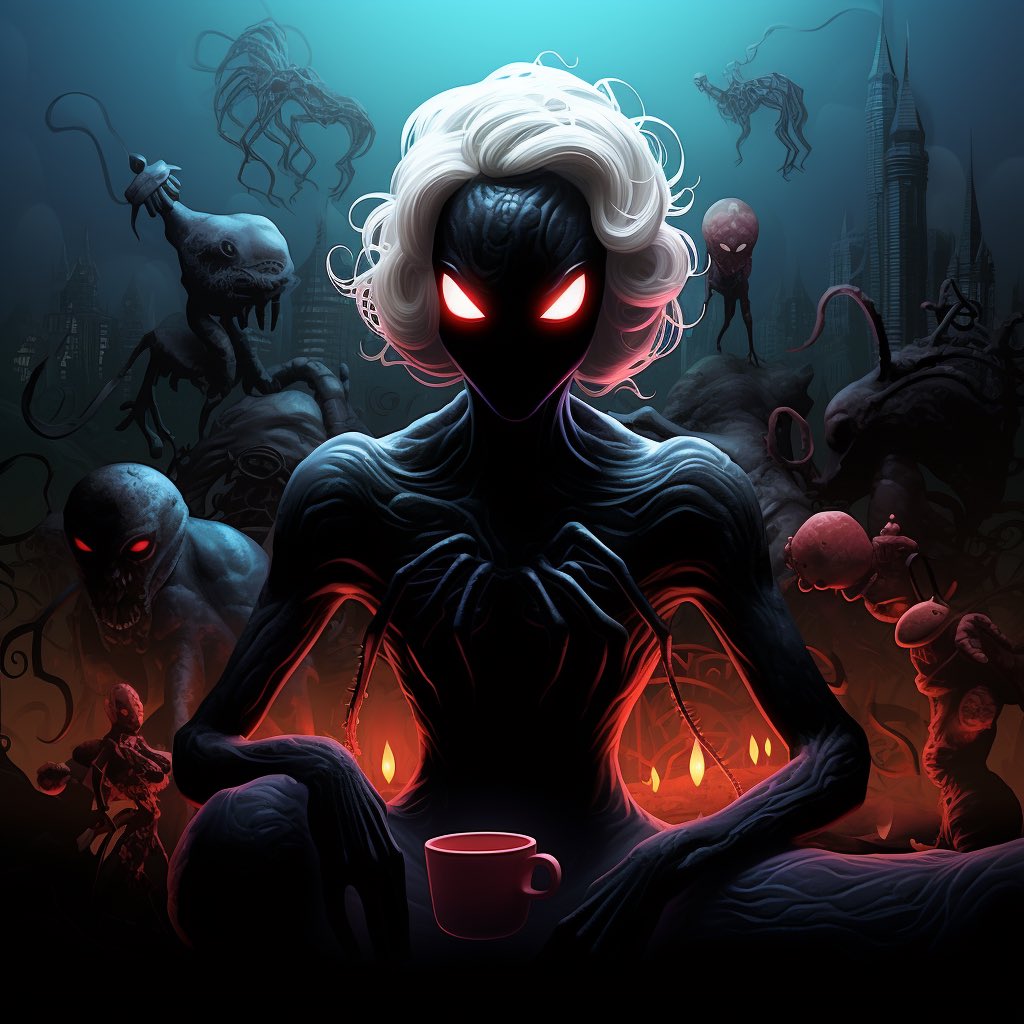
PROMPT CHALLENGE
Spider thingies!
I’ve spun up some Spider-people … how ‘bout you? Spider rings? Halloween tarantulas? The giant hairy creature in the center of the World Wide Web?? 🕸️👀
@IamKarinaBArt @kattlatte @muriellondon @Cyberpopdreams @Exprsso

English
@PhletchyIRL @youseememiami @the_aeye @midisteadygo @EhteshamHayat @Obey_Crypto @REFUSED73959541 thanks for the tag, Ghost town
@beholdersai in ?

English
@youseememiami @the_aeye @midisteadygo @EhteshamHayat Thanks for tagging!
@Obey_Crypto @_eRRRe_ @REFUSED73959541

English
I thought I was the only Midjourney user who saw great value in adding Stable Diffusion to the workflow. Deep down, that “refinement iteration” can be done endlessly on any image or area of the image.
I personally think that Fooocus is a less overwhelming interface than automatic1111 and much more intuitive for users coming from the MJ world.
Salma@Salmaaboukarr
Stable Diffusion has entered the arena🚶♀️ Creating on-brand backdrops with Midjourney ft Stable Diffusion: Ingredients Edition - Part 3 While Midjourney excels at generating high-quality images, Stable Diffusion takes it to a whole new level! Here's how I use MJ & SD Let’s dive in: 1. Start by generating base images on Midjourney. 2.Use my formula: (Composition) + (Scene Description) + (Colours) + (Style of Shot) + (Lighting). 3. Save your desired images. Let’s set you up with Stable Diffusion: 1. You'll need a computer with a GPU with a min of 6GB VRAM, OR 2. Use a cloud solution like Rundiffusion 3. Download 'automatic 1111 webui' Many tutorials are available for this (happy to provide a detailed post if needed) Parameters: 1. Download the model: 'realisticVisionV30_v30VAE' from Civitai 2. In the img2img tab, upload your base image 3. Prompt: orange slices, water, waterdrops, photorealistic, photorealism, juice (example) Negative prompt: (insert anything you don’t want in your image) 4. Set the denoising strength to 0.30 Ready, set, cook!🔥 The differences are stark. In my opinion, this workflow is good enough to be used as part of a creative process. I hope you found this helpful! For more practical use cases and real-life applications, please support by sharing and following me at @Salmaaboukarr Stay tuned for more as I will be expanding on this topic in upcoming posts!👀
English