Sabitlenmiş Tweet

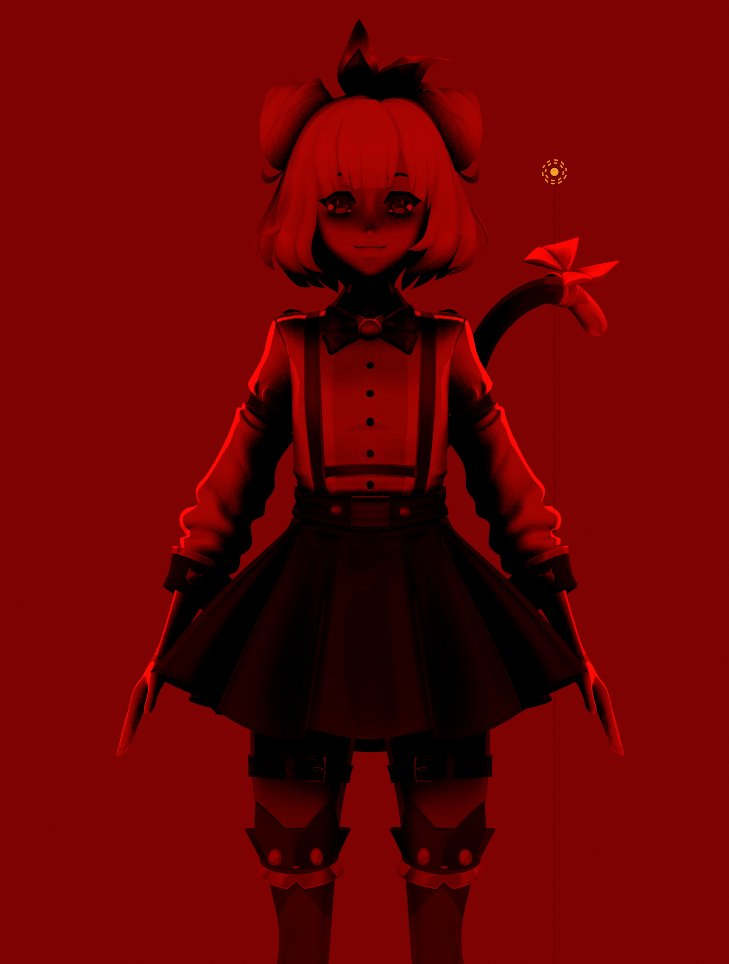
Anime face proxy mesh is out!
aVersionOfReality@AversionReality
The @getfondant Easy Custom Normals Blender addon 2.0.0 is out! We've added the Anime Face Proxy Normals tool I've been developing as a new tier to help fund further development ($10). Get it on Gumroad (link below.) The free tier Laplacian Smooth modifier has also received fixes and optimizations. The Normals Proxy is a set of rigged Curves + Geometry Nodes magic. Place it around your anime face and get clean toon shading fast (compared to other methods.) Easily adjust the shape with the rig for different expressions and poses, add it to your character's rig, and even shapekey it for expression keys!
English